If you’re anything like me, you dislike investing cash on something that you understand you can do on your own. That’s why I’m constantly looking for methods to conserve a couple of dollars– specifically when it involves my clothing.
So today, I’m mosting likely to reveal you just how to hem denims in your home.
With simply a couple of straightforward products and a bit of persistence, you’ll have the ability to repair your very own denims and conserve on your own some cash while doing so.
Comply with these actions:
- Obtain The Correct Equipment For Hemming Denim
- Take Precise Dimensions Of Your Legs
- Mark Your Denim Utilizing Customizing Chalk
- Usage A Stitching Device
- Usage Hemming Strips
- The Completing Touches
Obtain The Correct Equipment For Hemming Denim

When it involves hemming your denims in your home, it’s vital that you get the fundamental devices required to do a great work. You will not need to invest thousands of bucks below, however to get a flawlessly customized fit, you’ll require to obtain some premium products. Below are the fundamental things that you need to carry hand:
- Customizing Chalk– Customizing chalk is made use of to note the denims prior to hemming them. It’s readily available in different shades, however I suggest utilizing white to ensure that it will not tarnish the material.
- A Stitching Device– A top quality stitching equipment is vital for hemming denims in your home. See to it to choose one with the appropriate kind of needle and string setups, so you can accomplish the preferred outcomes.
- Hemming Strips– Hemming strips are an excellent method to obtain flawlessly straight hems without making use of a stitching equipment. They are available in various dimensions, so you can pick one that matches your requirements.
- Pins & & Needles– Pins are made use of to momentarily hold the material in position while you function, while needles are made use of to stitch the hem.
Take Precise Dimensions Of Your Legs
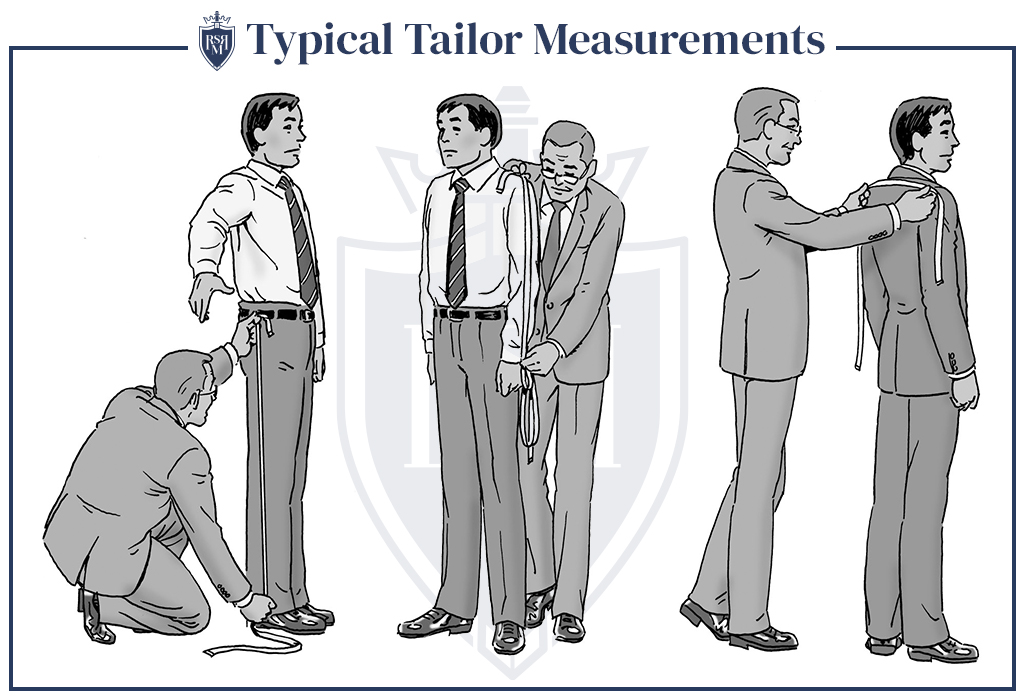
The primary step in hemming your denims is to take exact dimensions of your legs. Beginning by laying the denims level on a difficult surface area, and afterwards gauge from all-time low of your upper hand to where you desire the hem to be.
Doing this by yourself can be challenging. When you lean over to gauge from your ankle joint, you can impact the dimensions you take and wind up with imprecise numbers. Therefore, if you have somebody that can assist you with the measuring, I would certainly encourage that you have them do it for you.
When it involves recognizing the place your hem need to get on your leg, make certain to consider what footwear you normally use with your denims. Preferably, use these footwear when taking the dimensions to ensure that you can see where the denims need to drop.
For your recommendation, you’ll desire the denims to rest simply in addition to your footwear. There should not be a void in between the top of your footwear and all-time low of your denims, however there likewise should not be any kind of packing of material atop your footwear.
Mark Your Denim Utilizing Customizing Chalk
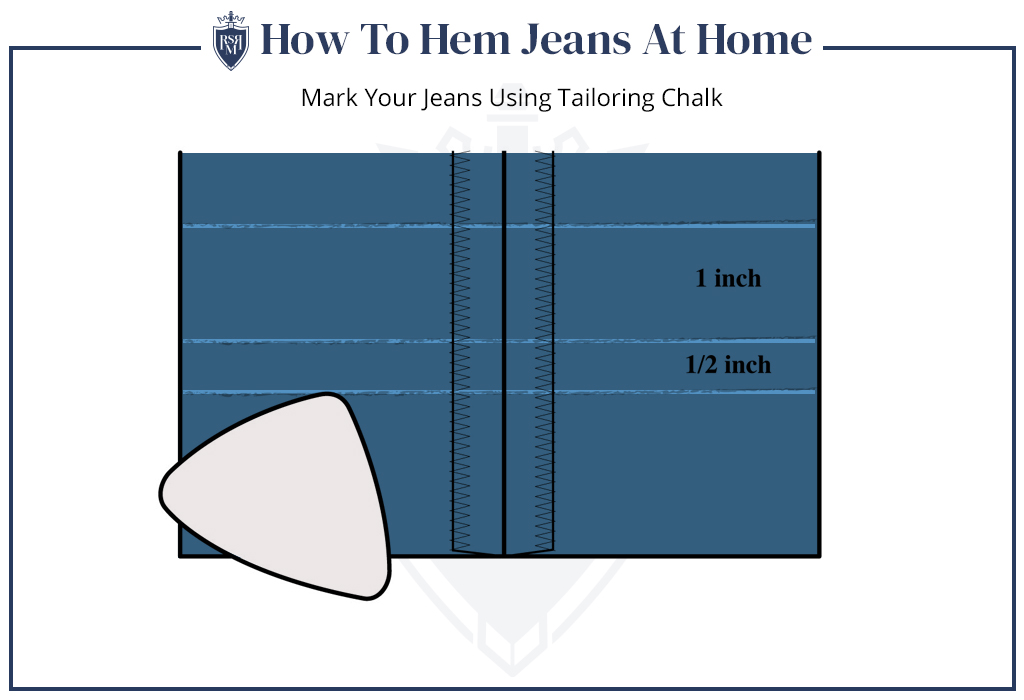
As soon as you have actually taken your dimensions, it’s time to note the denims utilizing customizing chalk.
A word of caution– do not make use of any kind of old chalk to do this. I have actually stated customizing chalk for an excellent factor, as normal chalk can quickly tarnish the material of your denims.
When noting the denims, begin near the bottom and attract a straight line approximately where you gauged. See to it that it’s as near a 90-degree angle as feasible by utilizing a leader or gauging tape for advice.
As soon as you enjoy with the line, draw one more one simply over it to produce a little barrier area. This is where you’ll be reducing the material, and it needs to rest a minimum of half an inch over the line you simply attracted.
Keep in mind, also one of the most skilled dressmaker makes errors, so confirming the dimensions you have actually extracted is vital.
There’s an old expression: ‘Gauge two times, cut as soon as’ which essentially suggests that you need to make sure when gauging, as it’s much tougher to deal with an error as soon as you have actually currently reduce the material.
Layer Your Denims

Prior to you touch a stitching needle, you’ll require to fold your denims to the factor where the brand-new hem will certainly be. This will certainly assist to reduce the quantity of material that requires to be hemmed, in addition to make it simpler for you to stitch when the moment comes.
Beginning near the bottom and fold your denims up until you get to the preferred factor. Go for an also fold, seeing to it not to overlap any kind of material from one side onto one more. If needed, pin the material in position while you function.
There are a couple of various methods you can do this:
- Layer in an outward direction to produce a comparison hem: This is one of the most typical hemming method, as it offers your denims a tidy and 50s-style visual.
- Layer inwards: This technique functions much better when you wish to conceal any kind of flaws or wear-and-tear that could be existing on the material. Nevertheless, all-time low of your denims will certainly shed the initial hem and sewing, which I do not assume appearances excellent.
- Double-fold to maintain the initial hem: This technique is excellent if you wish to maintain the initial hem of your denims, as it basically functions by folding the excess material up and right into itself. To accomplish this layer, just fold up the excess material know itself while leaving the initial hem noticeable at the end of the garment.
Usage A Stitching Device

Since you have your dimensions noted on your denims, it’s time to make use of an embroidery equipment. Establish it up according to the guidelines that include it and see to it to make use of the appropriate kind of needle and string setups.
Beginning with the top, gradually sew along the top of the layer you noted. See to it to maintain a stable rate to ensure that you do not create irregular stitches, as this can impact the general appearance of your denims. As soon as you have actually completed sewing, removed any kind of excess string and press the joint with an iron.
If you do not have accessibility to an embroidery equipment, you can likewise hand-stitch your denims too. This will certainly take a bit much longer, however it’s still practical if you have some persistence and method. The good news is, I have actually obtained a different overview to assist you discover just how to hand-stitch your very own garments!
Usage Hemming Strips
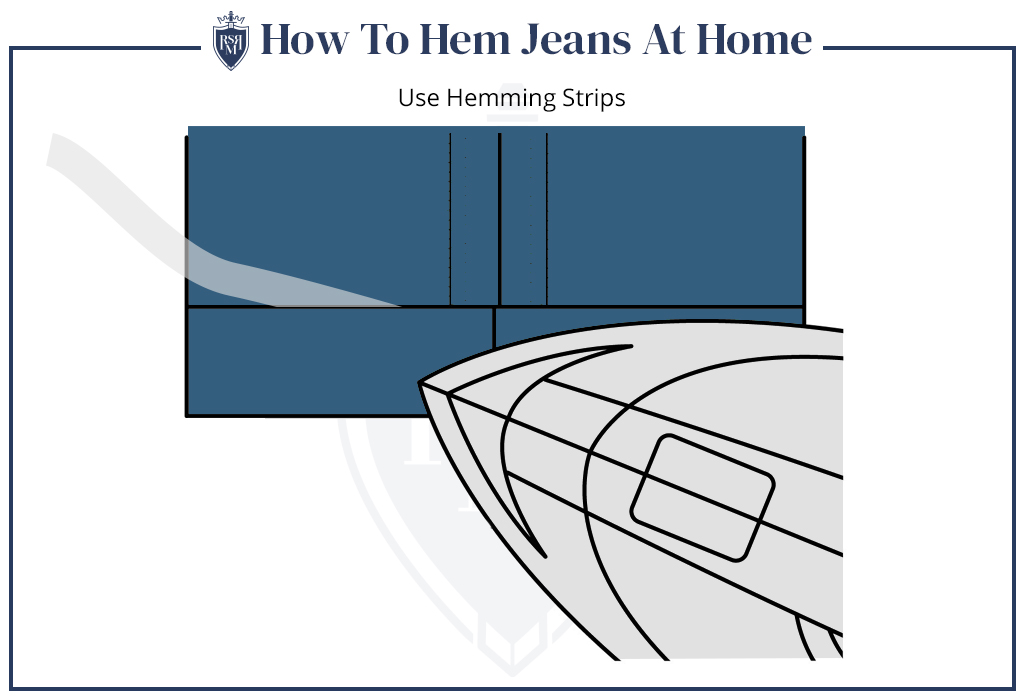
Hemming strips are type of the careless male’s choice to hand/machine stitching your denims. They’re basically strips that you can place below the layer of your hem that respond to warm and stick the material with each other.
To utilize this design of hemming, just reduce the strip to dimension and location it on the bottom of your denims. Utilizing an iron, use warm to the hemming strip up until it thaws and adheres to the material.
When this is done, just fold your denims and press with an iron– you’re all completed! Hemming strips are an excellent choice if you wish to make fast modifications to your garments in an emergency scenario.
The Completing Touches
Congratses! You made it this much and, if you have actually been adhering to in addition to this overview, you need to have a well-hemmed set of denims before you now.
That suggests you’re completed, right? Not rather yet. Look for any kind of missed out on stitches and see to it whatever looks cool prior to you call it stops– you do not desire your effort to be reversed by a loosened string or 2!
If you discover a loosened string or missed out on stitch, do not stress! You can quickly look after this with a needle and string.
As soon as you seem like whatever remains in order, offer your denims one last press with an iron and you’re done! Congratulations on effectively hemming your very own denims– I wager they look excellent!